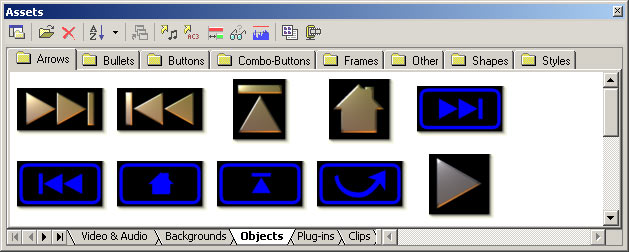
How to create customized buttons and frames for DVD-lab.
The buttons and frames that are provided by DVD-lab in the Assets / Buttons & Frames Bin are transparent PNG format files. They were all created in Real-DRAW PRO, but you can use any other software you are familiar with such as Adobe PhotoShop. Real-DRAW PRO is however the most suitable for the task.
Here is an example of the process in Real-DRAW PRO. We are going to create a simple bullet button.
1. We draw a simple circle

2. Then we apply a Texture and from the 3D Bevel choose 3D Ball.
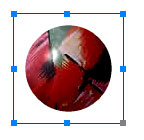
3. Do not apply any shadow - the DVD-lab will add shadow by itself and since the subpicture is created from the alpha mask, the shadow embedded in the button will make the subpicture different to what we want.
4. Use Trim Canvas or Export Crop to crop area around the button and use Export to export it as Transparent PNG format file.
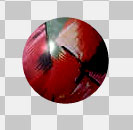
5. Export it to disk. Using Windows Explorer, Drag & Drop the newly created PNG file into the Assets / Buttons & Frames Bin within DVD-lab. You will be asked if you want permanently copy the file there, say Yes. The image will be then be displayed in the alphabetically sorted images list
.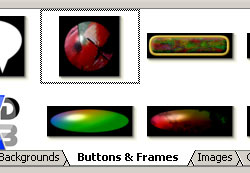
Now, you can drag-and-drop your new button from the Asset Bin onto a menu.
![]() Frames
Frames
The frames have a special role. If you drop a frame on an object in a menu, the frame will be resized to accommodate the object inside. Also, if the object has a link then the frame will pick-up the link.
The frames are exactly the same transparent files as any other button. In order for DVD-lab to recognize it as frame you have to name it starting with the word "frame" for example frame21.png.