![]()
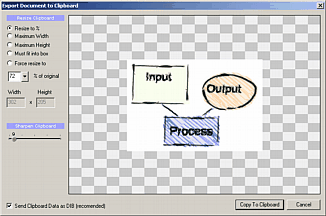
Besides normal Clipboard Functions and the Copy as Bitmap option, the Export to Clipboard is a similar process to the Export, but the file ends up in Clipboard instead of disk. Before the document is send to windows clipboard you have the option to resize it and sharpen. This is great way for web authoring or writing manuals where you can work very fast from Real-Draw to your application without creating any intermediate files.

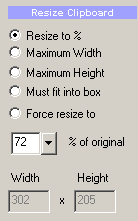
The resize options allows you to select the way you want the image to be resized

Locked aspect ratio:
Resize by Percentage - image will be resized by the specified percentage
Maximum Width - the image will be resized so its width will be set by specified number and its height will be calculated
Maximum Height - the image will be resized so its height will be set by specified number and its width will be calculated
Must fit into box - the image will be resized so it never exceeds the specified width and height
Force resize to - it will resize the image without regard of the aspect
Interactive Export Crop
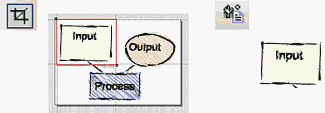
Similarly to the Crop for Export you can select only some part of the document that will be sent to Clipboard.

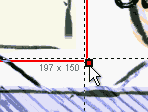
This is done on the document before you use the actual Export. Select the Crop tool and draw rectangle around the area you want to export. Both Export to Bitmap and Export to Clipboard will use this rectangle as the area to export.You can resize the crop area by the red handles. The Export Crop will never modify the document itself, it is just a mark to show the area.

You can keep it displayed on the document or switch it off by pressing the crop tool again.