Auto Hair/Edges Brush |
  
|
Auto Hair/Edges Brush |
|
![]()
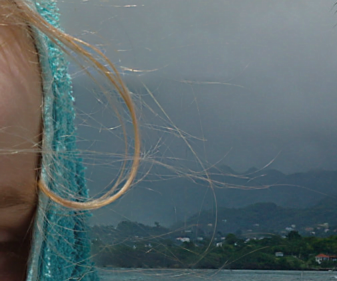
Masking Hair is not something photo designers like to do often, because it usually takes a lot of time and practice, but it is actually pretty easy in Photo Blend with Auto Hair/Edge tool.
The steps are very simple, just paint with a large Hair/Edge blue brush over area of fine hair, branches, or any thin objects and release the mouse. The area under the paint will turn into a mask where only edges will be masked. You can repeat it for more solid mask (not necessary with the fine hair)
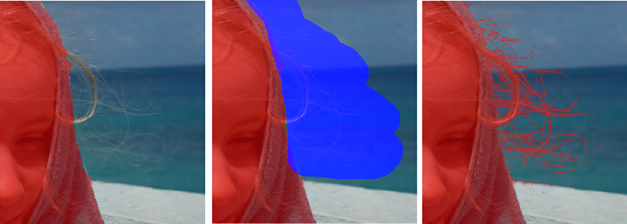
If you used to other editors you may feel that the produced mask is very rough, but I can assure you this is exactly the type of mask Photo-Blend likes most. Let's look at the final blended image:
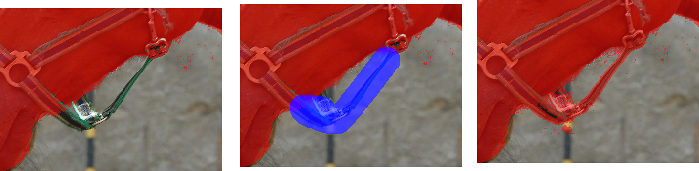
So where else we can use this tool? Any small object that would be normally hard to mask with any of the manual or automatic tools is a great candidate for Auto Hair/Edges brush. You may paint it few times over to get a bit more volume on the masks like the example below:
Tips:
For softer or semi transparent mask, use the Brush Softness and/or Opacity dials before you paint the blue Hair/Edges brush. Repeating over will build up mask with more smooth edges.