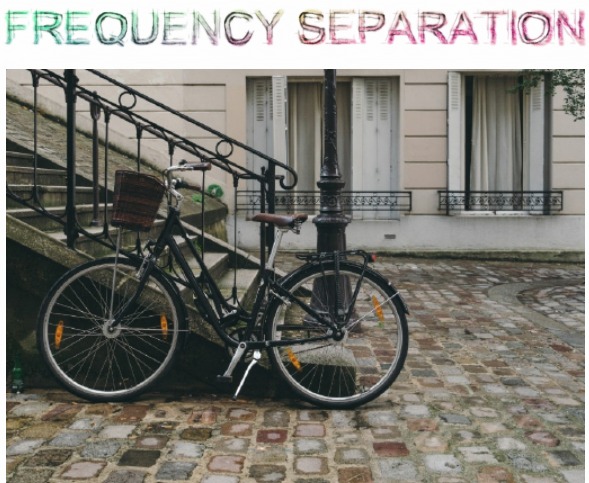
You may have already heard about Frequency Separation technique in photo editing, since it became popular in the past few years.

In short you separate your image into two parts: High Frequency that contains the texture and fine details and the Low Frequency that contain colors and tones and rough details.
This way you can focus your editing on just the texture or the tone and not being concerned with both at the same time.
Sounds pretty cool. So how to do it in Photo-Reactor?
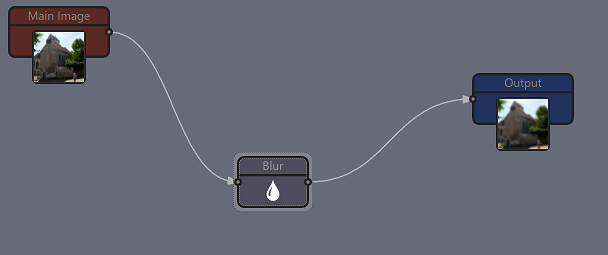
The low frequency is generally just a blurred image with Gaussian blur. That part is easy.
But how do we get the High frequency component?
We don’t need to re-invent the wheel. The High frequency is the rest what was removed by blurring! Or to formulate it another way: it is the difference between the original and the blurred (low frequency) image and this is pretty much how Photoshop (or Photo-Reactor) High pass filter works.
We could do that with the reactor objects alone, but to keep things short and fast, we will use just a single reactor C++ block and type a short code that will do that part for us.

Remember the reactor c++ script needs also the first comment lines (the //## ) that will setup the number of inputs and variables for the block. Once you copy the code and press compile, the block will have two inputs and a slider.

If you do this right, the output will show High pass image and when you change the Blur radius, it will work exactly like the radius in High Pass filter in Photoshop.

We added one variable “Multiplier” to the object. By default it should be in the middle (50) and that would produce the High Frequency as the exact counterpart to the Blur (Low Frequency). We can use this slider later for experimenting to add or remove the High Frequency.
How to tie all this together?
The output from the Blur block is the Low Frequency, the output of the C++ block is the High Frequency. So how do we merge them together back. Luckily there is Linear Light blend mode, that will do all that for us.
In this configuration as on the picture the Linear Light blend object need to have Swap layers to apply it correctly, or you can just wire the Blur to A and C++ to B.
If everything is right, then the output should be now the same as input. If it isn’t check if you have Swap Layers set on the Linear Light.

So after all this we produced exactly nothing as the output looks the same as the input. But that is the proof that it works we needed! We separated the image into two frequencies and then merge them together.
The Blur Radius determines the Split point between the frequencies and we can drop a Log Knob on the Blur object to extract that value to the workplace for easy manipulation.
Having a single split point is also the reason why we didn’t just use the build-in High Pass filter that exist already in Photo-Reactor. We really want the High frequency leg to be the exact counterpart of the low frequency. Regardless where we put the split point (Blur radius) the result image will be still same as the input even though both low and high pictures will change dramatically.

So it is now entirely up to you how to use it. I dropped few pins so I can easily connect objects in the path between them.
For example I can add Median or Noise reduction to the High Pass path and Saturation to the Low pass… but it can be as complex or as experimental as you want.

There are many uses, for example we can soften skin on portraits without changing the tone. Or we can do crazy things. But I leave it for you now.