FEATURES in detail
Motion Graphics Animator with Natural vector brushes
MOTION GRAPHICS FOR WEB, SOCIAL MEDIA AND VIDEO
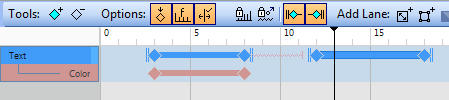
Keyframe Animation
On the canvas you can have static and animated objects.
Once you add first keyframe to an object it became animated object. Animated
object can have multiple layers (called Lanes) such as Motion, Color, Opacity etc.
that will animate that particular property of the object.
If you don’t create lane, then that part will not be animated - for example we may
have transparency or color that we don’t want to animate so we don’t need to
create lane for it..
You can choose if animated object is visible before its first keyframe and/or after
last keyframe with the ability to add breaks (where object is not visible at all, or
can suddenly jump to different position)
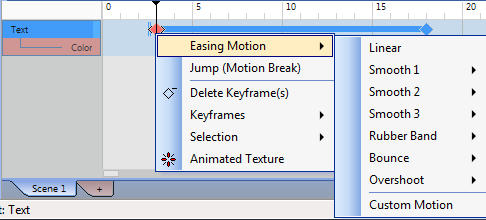
Motion Tween and Easing Motion
Any keyframe on any lane can have an easing motion. While the normal way
is a linear motion - from point A to point B or from color A to color B, with
easing motion you can control the acceleration. So an object can for example
bounce or slow down - without adding any extra keyframes.
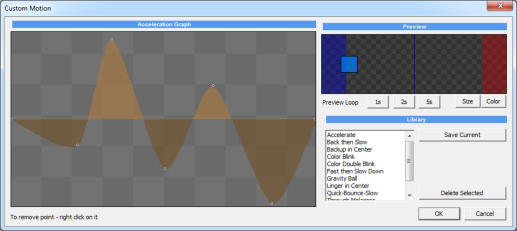
One more added feature is the ability to draw your own acceleration curve
and create fully custom made easing functions. Since the easing motion can
be added to any keyframe on any lane that means you can “bounce” a color
or size as easily.
Hand-Drawn Styles
Vector objects can use gradient fills, transparencies, bevels, shadows and other
effects as is typical in other editors.
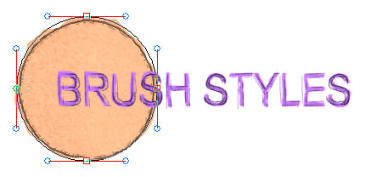
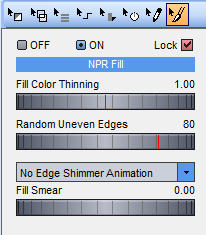
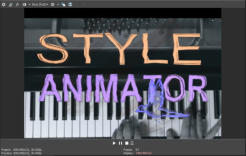
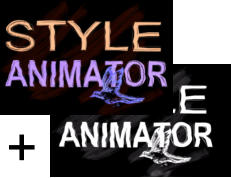
However an exclusive feature is adding hand drawn styles that can create a very
unique look.
The object still remain vector, but they are drawn with numerous brushes instead
of just plain colors.
The style of whole animation can be changed with a single click using a preset.
But you can also lock objects and apply different effect to only certain objects.
Furthermore you can switch on Random edge shimmering during animation -
simulating frame by frame hand drawn illustrations.
The shimmering edge rate can be also controlled
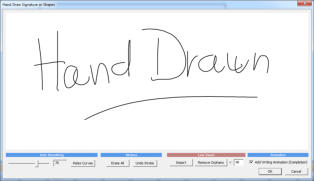
Signature Tool and Completion animation
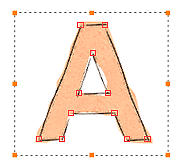
While there are many typical vector tools - from text to making a whole polynomes
with bezier handles, the newest addition is a Signature tool for writing hand drawn
texts with only a mouse.
The signature tool will make sure that whatever you draw with mouse will look
smooth as if it was drawn by a stylus.
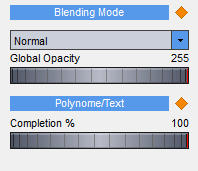
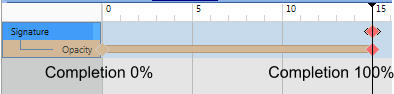
Because such created object is a vector that was created in the order it was
written we can “replay” the drawing by simply animating a Completion parameter
from 0% to 100% (Completion parameter is a part of Opacity Lane) creating a text
that writes itself.


Signature tool can be used for other purposes as well. It can vectorize a line
drawing that you import as a bitmap picture.
Animated Procedural Textures
Procedural textures are part of Color lane and they can be simply animated with
keyframes as any other parameter. They range from simple color washes to a
psychedelic 1960 swirls. Texture generator uses a hands-on approach, just move
the color gauges until you see something you like.
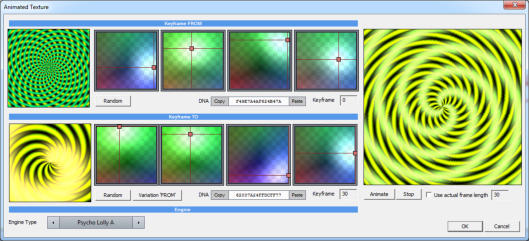

Procedural Textures can be added to any object, even a bitmap. And of course in
case of using the brush styles the texture will also be changed to work with the
style.
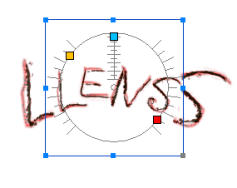
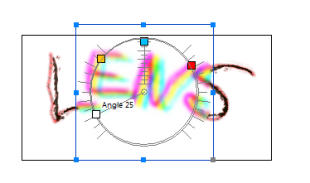
Lenses
Any vector object can be turned into a lens. A lens is exactly as it sounds - a
simulation of some sort of lens through which you are looking at other objects.
A lens can be a magnifying glass, a ripple glass, RGB defocus or even a lens flare.
A lens object can be then animated on top of other object or even its parameters
(magnification, angle, blur…) can be animated in Effect lane.
A lens flare object will draw lens flare across entire frame and when you animate
the motion of such object it will then change the lens flare reflections - creating a
super cheesy effect used everywhere in early 2000.
Only few keyframes are needed to add such effects.

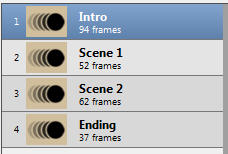
Scenes
Each project can have multiple scenes. Instead of putting all the object in one
scene and then trying to figure out the timing by moving everything, splitting
animation into logical scenes allows you to work with each scene separately then
export the full animation as one file.
You can re-arrange the scenes, duplicate scene or even duplicate and reverse all
keyframes - making a reverse-motion scene.


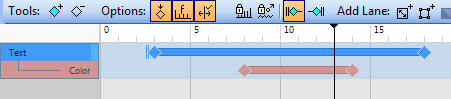
Anchor Time Stretch and Reverse
This is a feature that you wish you had in many other animation software.
You can expand or contract timing of selected keyframes by using an anchor.
Instead of moving all the keyframes to fix timing, you can simply increase/decrease
the relative timing of all selected keyframes in a single move!
Or you can reverse keyframes around anchor!
Increase time of selected keyframes relatively to anchor
Reverse keyframes around anchor
Compound Animation
Animation within Animation
You can export an animation to a FBF file and then load it back into a timeline of
another project. You can edit it like a small video clip inside the timeline (split to
blocks, change timing, speed).
The FBF files allows for full transparency and are lossless so in fact such pre-
rendered animation behaves as yet another object in the new timeline, where you can
then animate its motion and add effects creating an easy compound animations.
This way we can for example create a short animation of bird with just few frames then
fly it across the screen with only 2 keyframes!


Full PRO Export Suite
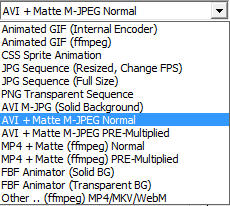
You can quickly export the animation as high quality animated gif (internal engine or
using ffmpeg) and share it on social media right away!
Or you can export it with one of the many options to different formats, including image
sequence, MP4, WebM, AVI and FBF (our own compound format)
Because our software works natively with alpha transparency a truly professional
option is to export the animation with a Matte layer, that can be used in video
composing and editing applications to play the animation in full transparency over your
video. To avoid headaches (very few application can still read transparent video) there
will be two video files exported - the top layer and the synchronized matte layer which
you can then combine in your video application to full alpha transparent overlay.
You can choose if you want PRE-multiplied or BG-Overlay transparencies. These
option are effective for semi-transparent objects.
Note: You need to download ffmpeg.exe if you want to use any of the ffmpeg exports.
Build-in Screen Recorder
To create a quick visual guides or tutorials, you can directly capture video from part of
your screen, then insert the video as an animation object. You can either choose to
capture the mouse cursor, or add the mouse cursor as an animated object after the
capture.

Windows 7,8,10


About MediaChance
Products
Links
Sign up to receive Mediachance newsletter
featuring new announcements and special offers.